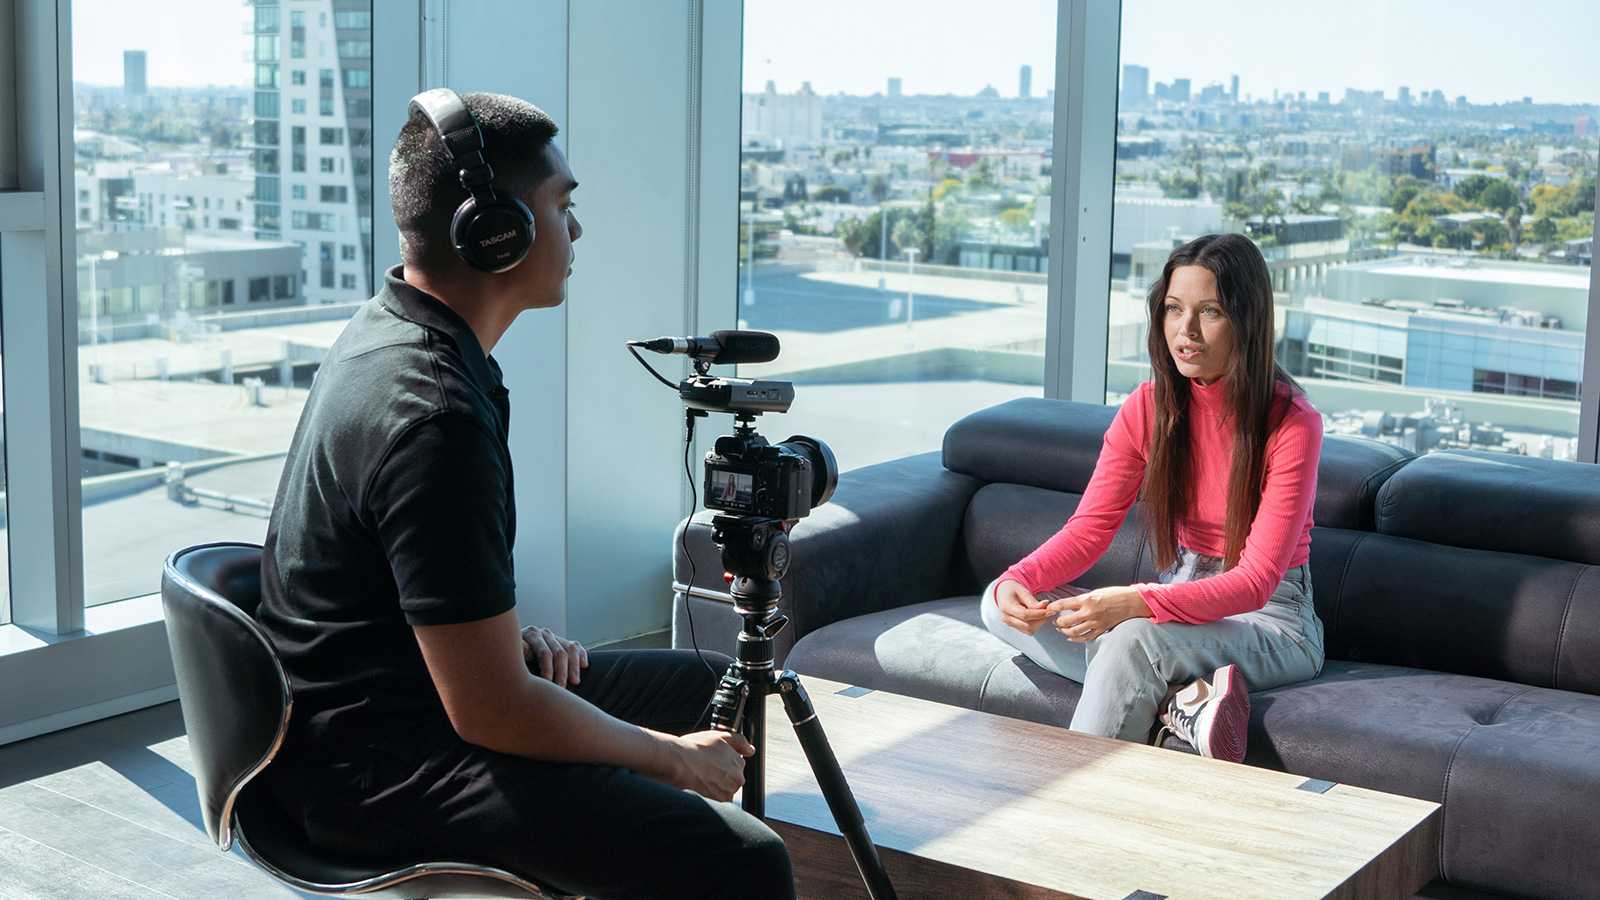
You don’t have to be a veteran recording engineer to capture great audio for your video productions. With some basic understanding of your microphone and recorder options, when to choose different microphone types, and how to manage sounds in your environment, you’ll have a clear path to guide you when recording audio for video. Let’s take a look at some of the gear you’ll be using, and how you can optimize your audio recording for your video productions.
Wired vs. Wireless Mics
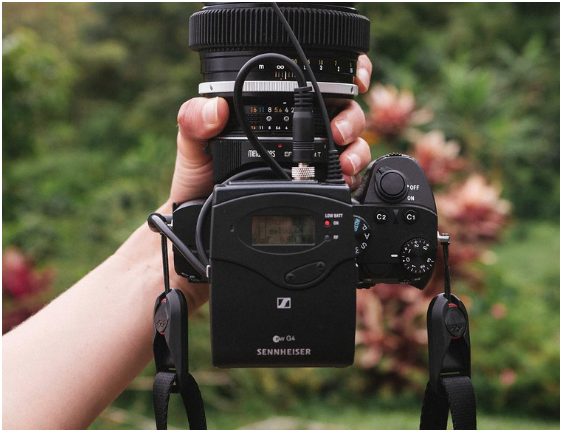
Choosing whether to use a wired or wireless microphone for your shoot is a straightforward choice:wireless offers freedom of movement and no cable clutter, while a wired microphone is a simpler setup with no external wireless gear required. Even if you choose to use a wireless microphone setup most of the time, it definitely pays to have a wired backup available as an option, just in case wireless interference or battery issues arise. Speaking of which, you should make sure you understand how your wireless system’s frequency selection feature works. Some on-camera wireless microphone systems like the Sennheiser EW 112P G4 make it easy to scan and select a new frequency if interference arises, and you’ll be able to handle it quickly if you’ve reviewed the procedure.
• Wireless is a great option to have, remember to pack extra batteries and to understand how to change frequencies.
• Wired microphones offer reliability and simplicity, eliminating the need to configure a wireless system.
• Keep a wired backup mic in your gear bag in the case of wireless interference or battery issues.
Understand Microphone Directionality
If you’ve struggled with uneven voice capture or excessive outside sounds in your audio recordings, understanding microphone directionality can help. Any microphone is going to be either omnidirectional (picks up sound evenly from any angle) or unidirectional (picks up sound from certain angles and rejects sound from others) — unidirectional mics are called cardioid, supercardioid, or
hypercardioid microphones depending on their degree of directionality.
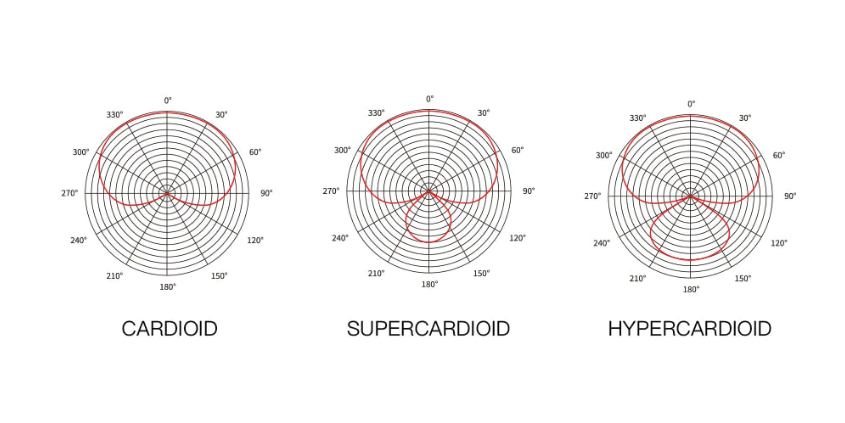
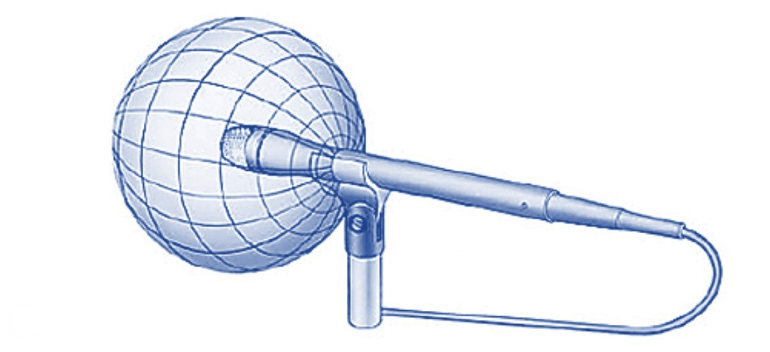
An omnidirectional microphone is a smart choice when you’re in situations with less environmental noise, like a video studio. With an omni mic you can expect consistent audio capture even if your subject moves their head around a lot. If you need to minimize outside noise like traffic or crowd chatter, a cardioid or hypercardioid mic will provide more focused audio capture. With a directional
microphone you’ll need to be mindful that your mic is properly aimed at your subject’s mouth for the best audio quality and consistent capture.
• Choosing the right microphone pickup pattern is as important as choosing the right lens.
• Omnidirectional mics offer consistent pickup in all directions, making microphone placement easier but will also capture unwanted outside sounds.
• Directional mics (cardioid/supercardioid/hypercardioid) offer more focused sound pickup and reject outside sounds well, but need to be positioned more carefully for the best audio quality.
Choosing a Mic — Lavs, Handhelds and Shotguns
The most common microphones you’ll be recording audio for video with are clip-on lavalier microphones, handheld mics, and shotgun microphones. All are capable of capturing broadcast-quality audio, and each offers advantages over the others in certain situations.
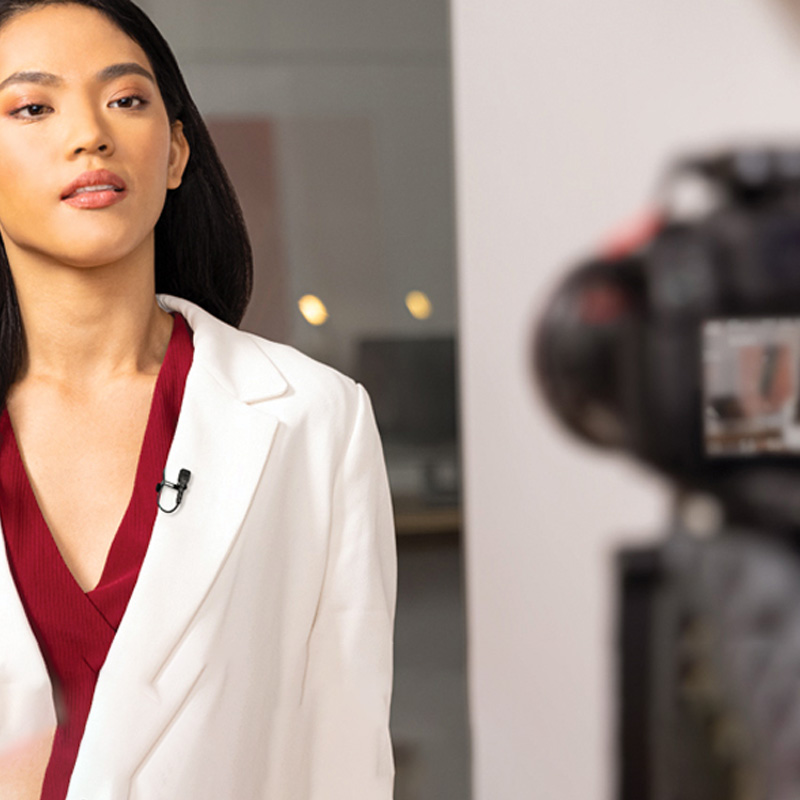
A clip-on lavalier microphone like the RODE Lavalier II is a great solution for capturing detailed audio from a single subject. Many lavalier microphones will have an omnidirectional polar pattern, which ensures consistent audio capture even when the subject is moving their head around. There are directional lavalier microphones too: you’ll need to make sure a direction lav mic is aimed directly at the subject’s mouth, but will also do a good job of rejecting outside sounds. Clip-on lavalier microphones can be hidden in clothing, making them a stealthy choice when you don’t want a microphone on camera.
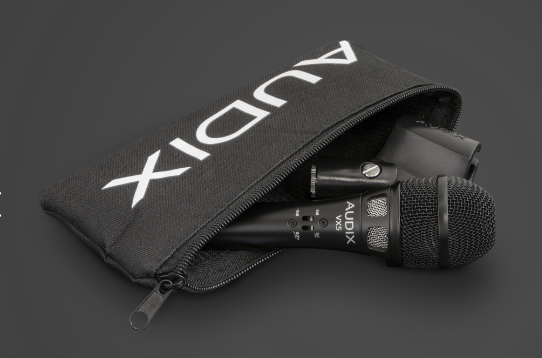
A handheld microphone is the best mic for interview-style productions, and eliminates the need to clip on a lav mic. A directional handheld mic, like the Audix VX5 with supercardioid pattern, is a smart option for loud environments. Its directional design means you’ll capture clear and focused audio while rejecting most of the noise going on nearby.
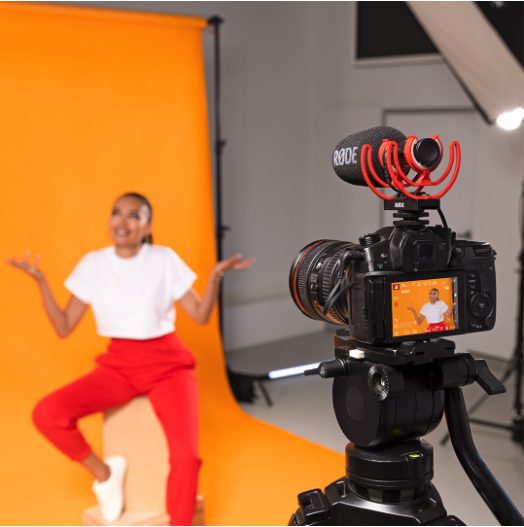
A shotgun microphone is highly directional, allowing you to focus on a single sound source from many feet away while rejecting off-axis sounds. Shotgun mics generally require a boom operator to aim the mic while staying out of frame, but there are situations in which you may want a camera-mounted shotgun mic for audio capture. For static shots that are relatively close to your subject, an on-camera shotgun mic like the RODE VideoMic GO allows you to focus your audio capture wherever you’re pointing your camera, while rejecting off-axis sounds.
• Clip-on lavalier mics are best for dialogue and narrative work, and can be well-hidden when stealth is required.
• Handheld mics are the best choice for run-and-gun shoots and crowded events like trade shows and conventions.
• Shotgun microphones are highly directional and generally require a boom operator to aim, but an on-camera shotgun mic can be a great dialogue solution for close shots.
Capture Better Audio with a Dedicated Recorder
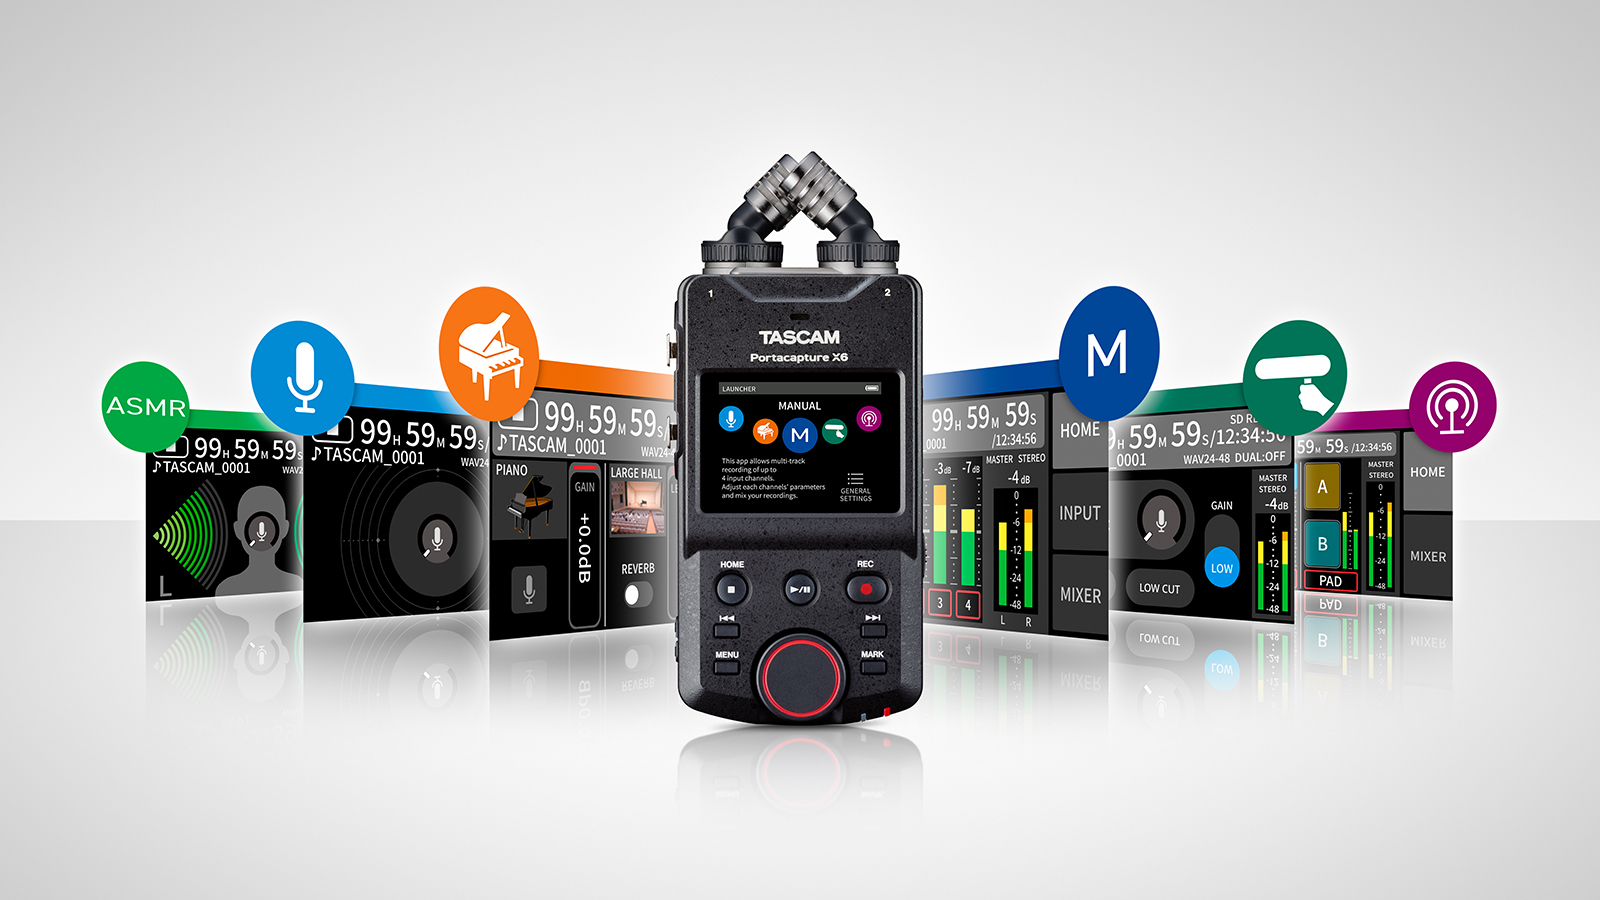
A standalone audio recorder like the TASCAM Portacapture X6 will provide better audio quality than your camera’s built-in audio input, and can usually be mounted to your camera for convenience. A dedicated recorder gives you easier access to crucial audio settings than your camera allows, giving you more control over audio levels and other settings during your shoot. Most standalone audio recorders offer more inputs than your camera does, allowing you to capture multi-track audio from many sources simultaneously. And a standalone audio recorder will also offer a monitor output for your camera, allowing you to simultaneously capture audio to your video file too.
• A standalone recorder will offer higher-quality mic preamps and digital converters than your camera has.
• Dedicated recorders give you faster access to gain settings and other functions, with dedicated buttons and knobs instead of your camera’s menus and scroll wheel.
• Connect your recorder’s monitor output to your camera to simultaneously record audio to your video file.
Capture Audio Where it Happens with a Personal Recorder
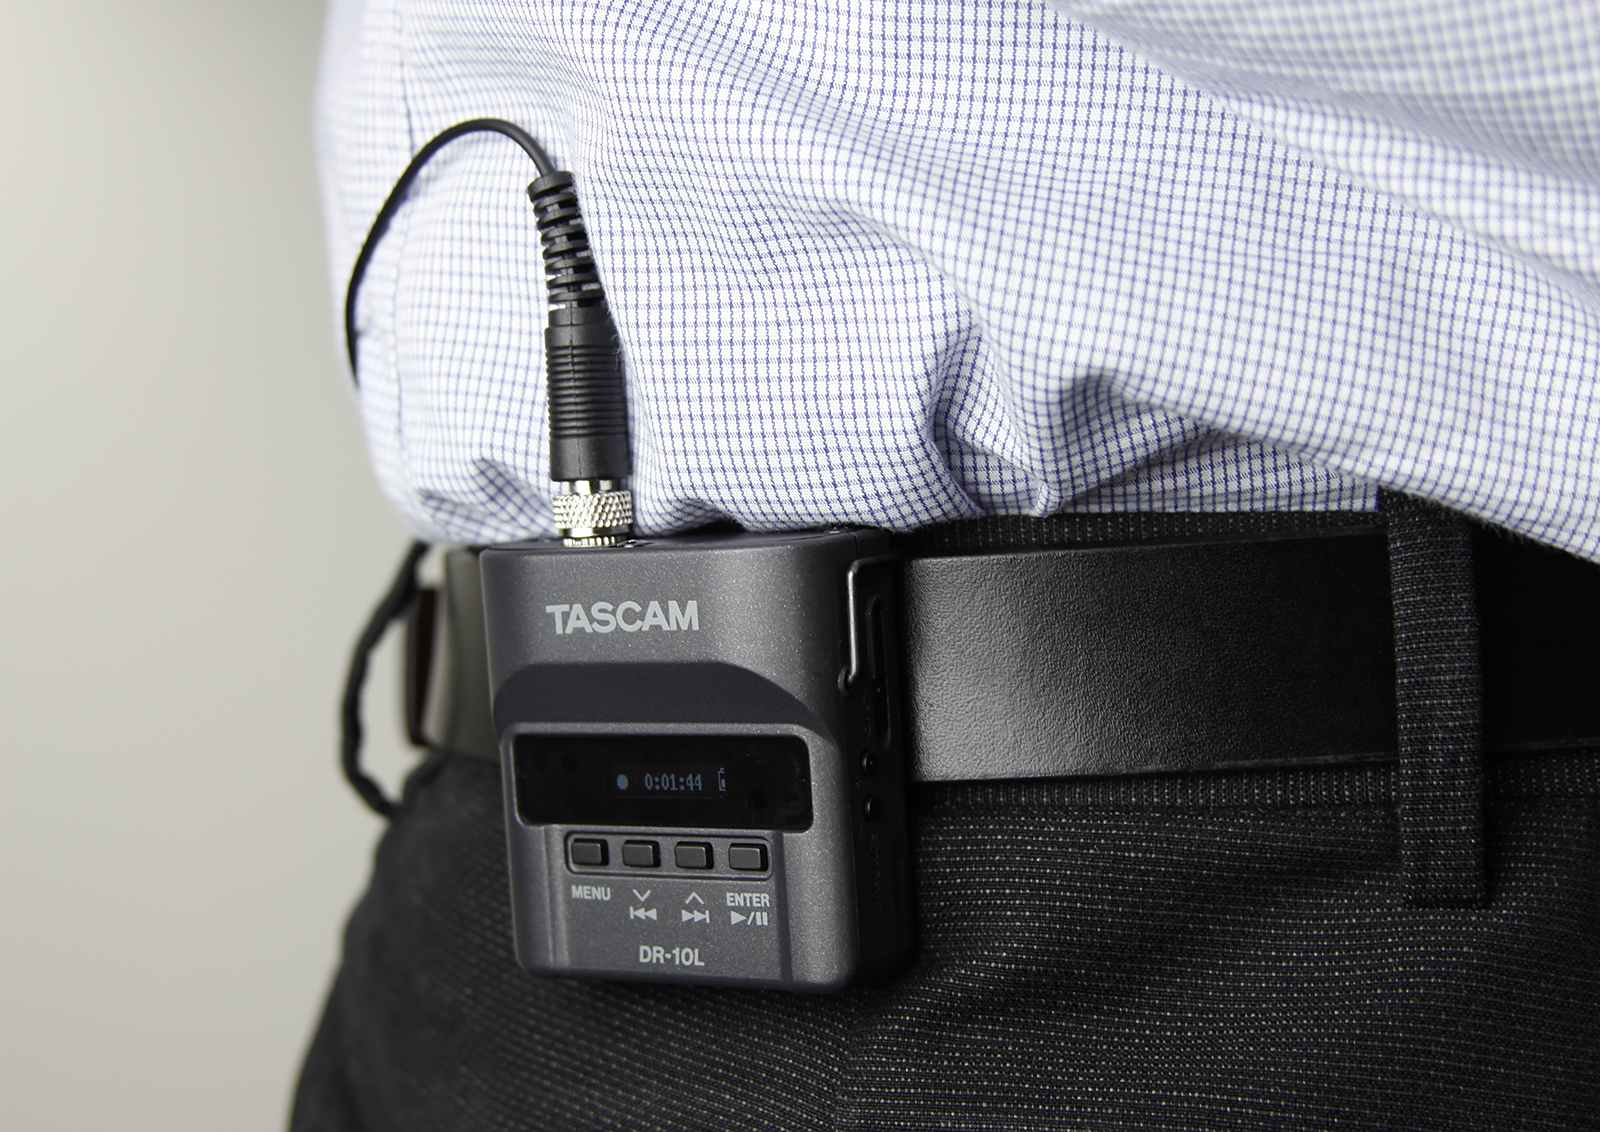
In busy environments like a wedding party, or stealthy situations like a film shoot, you can greatly simplify audio capture with a compact personal recorder like the TASCAM DR-10L recorder/lav mic combo. The DR-10L recorder can be easily slid in a pocket or clipped to a belt, and captures broadcast-quality audio directly from the included lav mic. You’ll be recording clear, consistent audio wherever your subject roams, and setup with a personal recorder is simpler than synchronizing wireless gear—just mic up your subject, hit record on their personal recorder, and you’re good to go.
• A personal recorder/lav mic combo can eliminate the need to set up a wireless system.
• Allows you to capture focused, personal audio no matter where your subject is in the shot.
• Can be easily hidden on subjects for stealthy shots.
Record a Safety Track, Just in Case
One of the challenges of capturing great audio is making sure you’re recording at a high enough input level to maximize fidelity and minimize noise, but not at such a high level that you risk distorted audio. A benefit of using a dedicated audio recorder is that many allow you to record a “safety track” at a lower level, just in case things get loud. If you set your input levels properly (peaking around -12dBFS on your recorder), your “main” recording should sound great. And if a burst of loud audio causes your main recording to clip, your safety track can be edited-in during post.
• Know how to use your recorder’s “safety track” function in the field.
• Set your main recording level so that peaks occur around -12dBFS.
• If your recorder supports 32-bit floating point recording, use it—you won’t need to record a safety track, and you won’t even need to set input levels.
Control Your Environment When Possible
Whether you’re shooting in a controlled studio or out in the real world, you should identify what sounds could potentially challenge your production, and what you have control over. Something as simple as turning off an air conditioning unit during the shoot is an easy way to cut down on unexpected noises: be observant to identify things like noisy lights, or nearby reflective surfaces that
could cause excessive reverberation. Basically, try to anticipate any potential sources of sonic disruption, and see if you can do anything to mitigate them before they ever become a problem.
• Anticipate potential disruptions like cel phones and turn off devices before recording.
• Identify any noise sources you can control like AC units, buzzy lights, etc.
• Be aware of nearby reflective surfaces that could cause excessive reverberation in your recording.
Don’t Forget to Record Some Environment Audio
Before you even begin shooting, make sure to record at least a minute or two of whatever environment you’re in—even if it’s a seemingly-silent studio environment. During editing, you can use some of this ambient audio to smooth out dialog edits. It’s possible you may not need to use ambient audio for every project, but when you need it you’ll be extremely glad you took the time to capture it.
• Record a minute or two of the ambient environment with the same mic you’ll be using for dialog.
• Blending some ambient sound with dialog in post creates a smoother sounding production.
• Hard audio edits can be hidden using ambient sound mixed in at the edit points.
Know Your Gear, Record Better Audio for Video
Understanding your audio gear, from your microphones to your recorder, is the best way to equip yourself for success when recording audio for video. There is no step-by-step guide that would cover the infinite range of real-world recording situations you’ll encounter. The more you know about how microphone types and pickup patterns excel in different scenarios, how your wireless system works,
and how your audio recorder operates, the more your audio recordings — and your overall video productions — will benefit.


