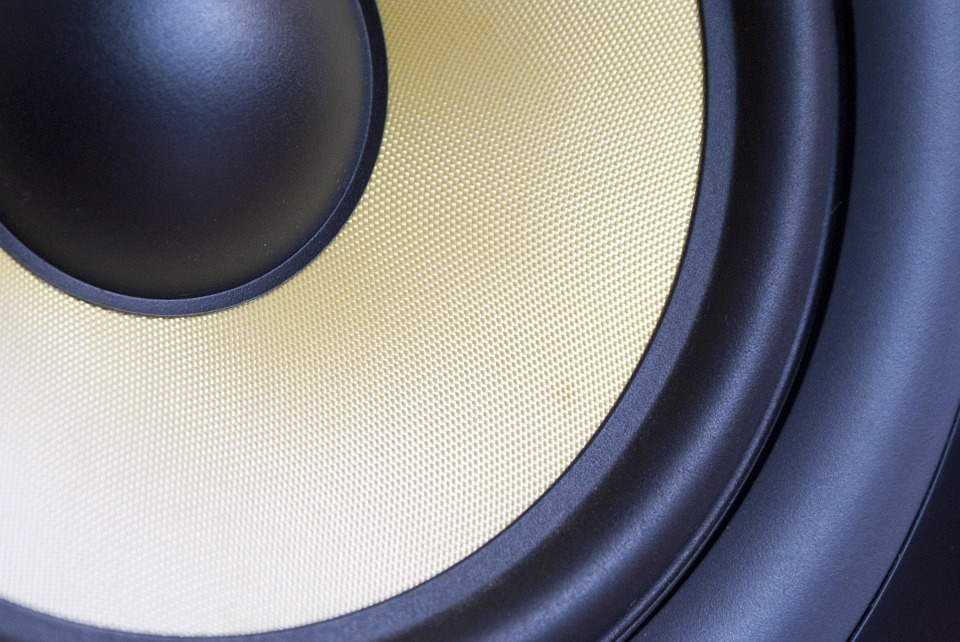
If you are mixing a track or working on some new music in a studio (whether home or professional), you should really understand that studio monitor placement is extremely important.
They will provide you with the most accurate sound for mixing so you know the sound is not adulterated and you can make a mix with all the information in hand. But different studios accommodate studio monitors differently and their placement matters to a great extent.
The following are a few tips to get the placement of studio monitors right for the best quality of sound.
Still looking for studio monitors to buy, check out our buyer’s guides:
Studio Monitor Placement 101: How To Place Your Studio Monitors
Make Use of the Short Wall
When you position your studio monitor, it is best to place it along the shorter wall. This may be confusing to understand at first but think of it this way.
If your room is a rectangular shape, you need to place the monitor facing the wall that is shorter in length. In doing so, the sonic reflections from the speaker will travel a longer distance before coming back to your ear
As the sound travels farther away, its intensity decreases in tandem with the distance it is covering. The difference in the quality of sound when it travels a longer distance and when it hits a nearer wall and comes back is great.
When the sound hits the shorter wall, the results are more accurate.
This is especially true for a small room where there is not enough distance for the sonic reflection to cover.
In that case, placing the studio monitor along the short wall will make a huge difference.
An Equilateral Triangle
If you can create symmetry while placing your studio monitor in the room, the quality of the sound will be elevated noticeably.
A rule some people follow is to try to create an equilateral triangle between the listener’s head and the two studio monitors.
When you are listening in stereo, there can be a huge difference between the left and the right speaker, depending on where it has been placed. But if the placement is not correct, the sound of the left may lag behind the right or the other way round.
To avoid this type of distortion, you need to try, as much as possible, to maintain symmetry while positioning the studio monitors.
If you are in a symmetrical room, most of your issues and questions about studio monitor placement have already been resolved. This is because if there are any imbalances in the sound of the left and the right speaker, they will at least be uniform. If you place your speakers at the center of a single wall, it will give you a more accurate sound than if you place it in the corner of a rectangular room.
You can select any wall to place the studio monitors along, as opposed to choosing the short wall in a rectangular room.
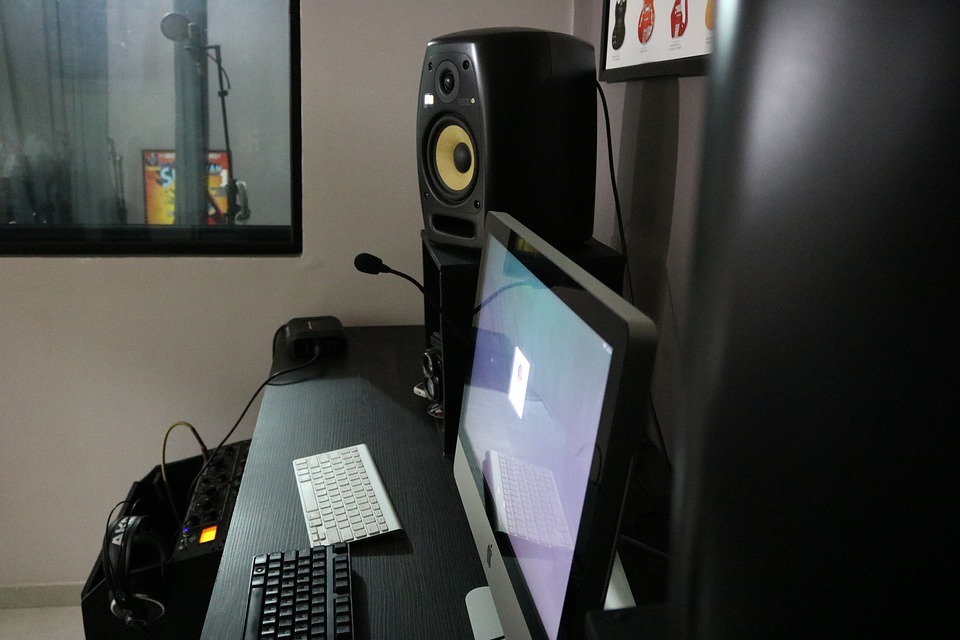
Point the Studio Monitors toward Your Head
A studio monitor can reproduce high frequencies with great accuracy. But high frequencies are directional and you will get the full experience of listening to a high-frequency note only if the tweeter is pointed directly at you.
So, when you are placing your studio monitors, it is of the utmost importance that you place it in a way that the tweeters are at ear level for the listener.
This studio monitor placement allows for a more consistent listening experience across different studios of various shapes and sizes.
When you place the tweeters of the studio monitor at head height. The pattern the sound takes when it emanates from the speaker — the horizontal and vertical dispersion — takes on a different shape and can vary considerably when you move away from the monitor.
So to get the most accurate sound, you should be facing the speaker and it should be placed at ear level.
If your desk or table where you are placing the speakers is not high enough, invest in speaker stands so you can position the studio monitors accordingly.
Beware of Reflections
If there are hard surfaces near the studio monitors, you need to find ways to avoid the sound from bouncing back unnaturally. Like a mirror reflects light, hard surfaces reflect sound.
For example, if there are windows, drywalls, plaster walls, or any non-diffusive surfaces in the room, the sound will certainly reflect off of them unless you do something to prevent this. When the direct sound that comes from the speaker meets the reflected sound on its way back from the hard surface, the nature of the sound is altered considerably.
In technical terms, this is called comb filtering and you want to avoid this from happening as far as possible.
The good news is that there is a very interesting and effective method of detecting whether there are any such obstructive surfaces in the path of your studio monitors.
- Place a flat mirror in front of or on top of all the hard surfaces in the room.
- Check if you can see the reflection of the speaker’s face in the mirror.
- If you can see the speakers reflecting on the mirror, the hard surface is an obstruction.
- Remove the obstruction if possible or apply absorption to it to prevent the reflection.
Adjust, Adjust, and Adjust Again!
One of the best ways of testing if a studio monitor has been positioned correctly is to play the music that you have heard on other speaker systems before and know sound excellent.
If the same music sounds the same on your studio monitors, the placement is fine the way it is. But if it is not sounding correct to you, adjust the position until you are satisfied.
If you hear too much bass, you need to move the studio monitors away from the walls and corners.
If the studio monitors have knobs for adjusting high/low-frequency boost/cut, etc., try and move those around until you arrive at a sound that sounds closest to the accurate version.
The point is to adjust the position until you hit the sweet spot!
Common Studio Monitor Placement Questions
How Far Should Studio Monitors Be From You?
A good starting point for placing your studio monitors is to place the studio monitors in an equally distanced triangle with monitors angled approximately a 30% angle towards the listening position.
What Height Should Studio Monitors Be?
A common practice is to ensure that you have your studio monitors approximately placed at ear level.
Does Studio Monitor Size Matter?
Most bedroom producers use a pair of 5-inch monitors. For larger rooms, 6-12″ studio monitors are used.
How Far Should Studio Monitors Be From the Wall?
Monitors that are close to walls or surfaces can boost the low end frequencies up approximately 5%. The rule of thumb is that monitors can be placed at minimum of 6-12 inches (15-30cm) but ideally 2-3 feet (60-90cm) is way better for a clean mix.
Should I Have Isolation Pads Under My Monitors?
Studio monitor isolation pads are a great way of direction aiming speakers and removing unwanted resonance from your mixes. You can expect an improvement in sound quality using isolation pads.
Do I Need a Bass Trap?
Acoustic foam bass traps designed to absorb low/mid-frequency sound to flatten room response and give you a warmer crystal clear sound. Bass notes tend to play longer and create accumulating standing waves in the room. By packing corner traps into your studio, you’ll add much more clarity to your mixing.
How Far Apart Should My Monitors Be?
Studio monitors should be placed in an equal distance triangle. The rule of thumb is to make sure there is equal distance between the listener and the other monitor.
Final Thoughts
No studio is complete without a good pair of studio monitors, and no studio monitor can do its job well if it is not placed accurately.
Of course, different studios are of different shapes and sizes so there can be no single law on how they should be positioned.
But the key is to adjust the position and truly engage with the sound of the monitor to know if you are getting the sound you require.


